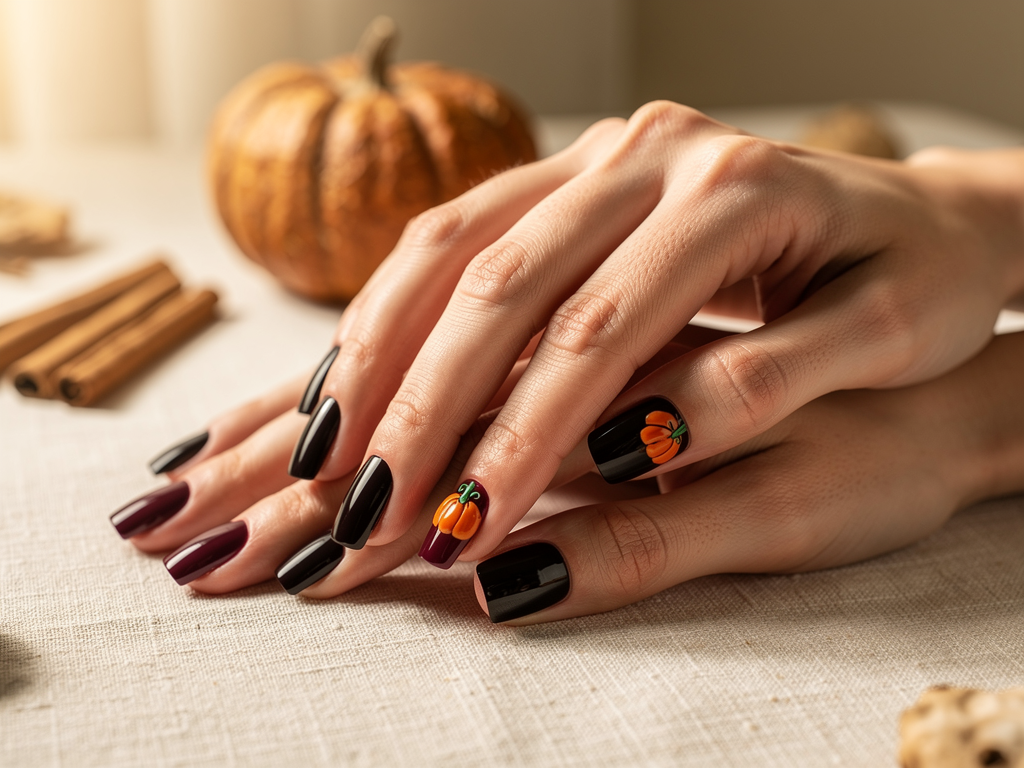
Halloween never became a big holiday in Russia, but it’s firmly rooted in nail art. The reason is simple: it’s the only theme where everything is allowed at once. A pumpkin next to a spider web, black gloss next to glitter, and no one will call it tacky.
Below are seven designs you can realistically recreate at home in one evening, without a trip to a salon or buying a dozen bottles. Plus, we’ll cover what to do if your nails are peeling, why polish doesn’t survive until October 31, and how to wear this manicure so it doesn’t look like a costume.
Halloween manicure: dark shades with one accent nail
A Halloween manicure differs from a fall manicure not by color, but by detail. One small accent on a neutral base looks more expensive than all ten nails covered in rhinestones.
PODCASTListen instead of reading
Audio version of the article: convenient on the go, while cooking, or on a walk.
{“@context”:”https://schema.org”,”@type”:”AudioObject”,”name”:”Halloween manicure: 7 designs you can do at home in one evening”,”description”:”Audio version of the article.”,”contentUrl”:”https://hervibehub.site/wp-content/uploads/2026/10/podcast-manikyur-na-helloween.mp3″,”encodingFormat”:”audio/mpeg”,”duration”:”PT10M30S”}
Why Halloween manicures work especially well in fall
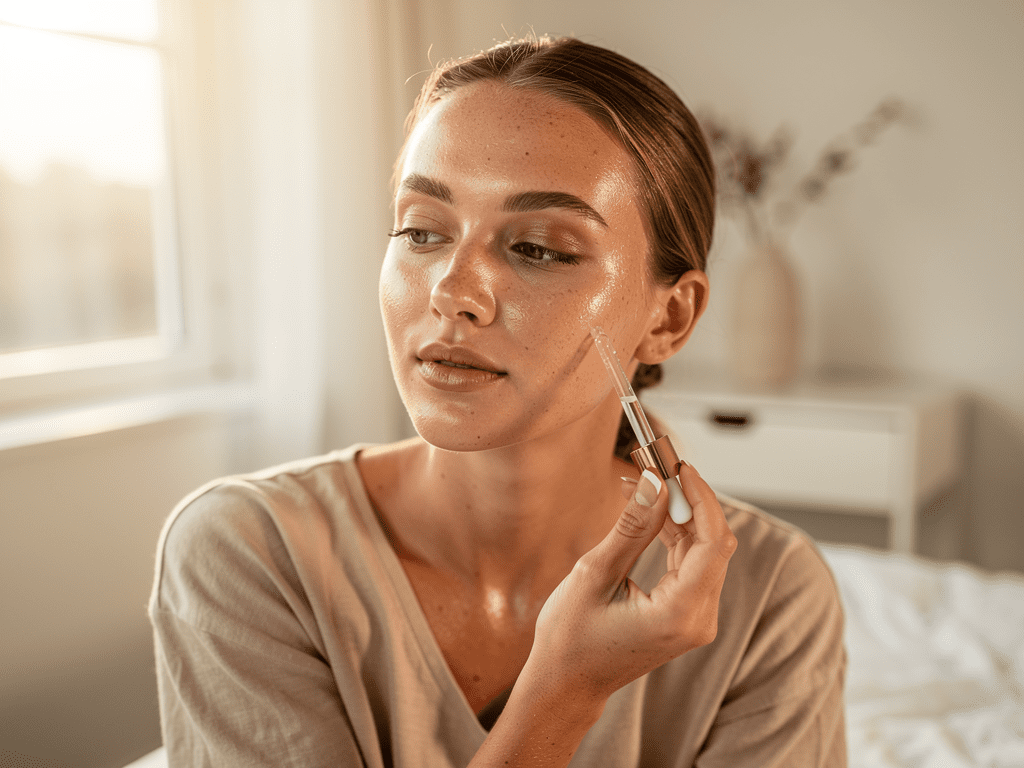
In fall, the skin on your hands gets drier, and any polish holds up worse. The heating kicks in, indoor humidity drops to 30 percent, and with it goes the elasticity of the nail plate. That’s why seasonal design starts not with color, but with prep.
The second factor is light. In September and October there’s little sun, but plenty of artificial lighting. Dark shades under warm yellow light look muddy if chosen poorly. Burgundy under incandescent light turns brown, and plum takes on a bluish cast.
Prep: three steps that double wear time
The order matters more than the tools themselves. If you skip even one step, any design will chip by day three, and all the money you saved on a salon will turn into disappointment.
Remove the cuticle. Don’t cut it — soften and push it back. A cut cuticle causes hangnails, and those are incompatible with a festive design.
Degrease the nail plate. An alcohol wipe or just plain alcohol. Without this, the polish will go on unevenly by day two.
Apply a base coat. A real base, not a clear polish. It evens out the surface and protects against pigment from dark shades.
Seven designs you can recreate in one evening
Seven Halloween designs you can do in one evening
1. Pumpkin on one finger
A classic that’s hard to mess up. The base is a warm peach or milky shade. On the ring finger, an orange circle with a green stem drawn with a thin brush. If you don’t have a brush, a toothpick works fine.
The pumpkin should take up no more than a third of the nail. Any bigger and it looks like a child’s drawing.
2. Spider web with a thin line
The most underrated option. White or silver polish and three lines radiating from the corner of the nail, connected by arcs. Done over a solid dark blue or deep purple base.
Important: a spider web only looks expensive on a matte base. Gloss turns it into a cheap sticker.
3. Gradient from burgundy to black
Works without a single drawing. You need two polishes and a makeup sponge. The color is applied to the sponge in a stripe and pressed onto the nail with light dabbing motions.
A gradient always looks neater when done on the third day after a fill, when the edge has already grown out slightly.
4. Blood drips
Technically the easiest: red polish and a thin needle. A drop is placed at the free edge and pulled downward. Three drops of different lengths on one nail are enough to create the effect.
Don’t do drips on all ten nails. Two accent nails are plenty.
5. Matte black with a gold accent
The most versatile option. It works for both the office and a party, because matte black reads as a strict dark shade, not as Halloween decor.
A gold line along one side of the nail, the rest matte. Gold foil is cheaper than gold polish and lasts longer.
6. Skeleton and bones
Requires a minimally steady hand. White polish and black lines on top. A vertebra is three short strokes and two crosswise ones. The pattern is easy to memorize on the first try.
7. Deep shade with shimmer
For those with no time at all. One dark polish plus a shimmer top coat. Simple, but perfect for anyone who wants a hint rather than a costume.
What to do if your nails are peeling
Peeling nails and dark polish don’t mix: the peeling gets emphasized by the pigment and becomes noticeable on day one. If you have this problem, treat it first, design later.
Trim length to a minimum and let the nail plate grow for at least two weeks.
Avoid acetone for removal — it dries nails out even more. Micellar water for nails works more gently.
Add biotin-rich foods to your diet: eggs, nuts, legumes. Vitamins from the pharmacy work slower than food.
Separately, about hand skin care: if your cuticles dry out and crack, a base coat alone isn’t enough — you need an evening cream. We covered the overall approach to care in the article skincare after 30.
If the peeling doesn’t go away within a month, it’s worth seeing a dermatologist. Sometimes the cause isn’t your routine but an iron deficiency or thyroid issues, and polish has nothing to do with it.
Why polish doesn’t survive until the end of October
A classic: the design is done on October 25, and by the 28th it’s already chipped. There are usually three reasons.
The first is a thick layer. Polish applied in one heavy coat dries unevenly and lifts in sheets. Two thin coats are always better than one thick one.
The second is contact with water in the first hours. Washing dishes an hour after a manicure kills any base coat. Give the polish at least three hours.
The third is the free edge. If the polish isn’t sealed on the tip of the nail, that’s exactly where it starts lifting. Run the brush along the edge — it takes a second.
Should you check the lunar calendar?
Every year before the holiday, the topic of lunar calendars for haircuts and manicures resurfaces. The idea is simple: on certain days nails grow faster, on others slower, and supposedly this affects how long the polish lasts.
There’s no scientific evidence for this. Nail growth rate is determined by genetics, nutrition, and circulation — not the phase of the Moon. If polish lasts longer, the reason is usually nail prep and base coat quality, not the date. We covered this topic separately in the article about the lunar calendar for haircuts and manicures.
The practical takeaway: pick a day when you have a free evening and no one will bother you. That affects the result more than any astrology.
Care after removing polish
The most common mistake is immediately painting your nails again. The nail plate needs a day of rest, otherwise the next design lasts half as well.
Remove polish without rushing. Tearing it off strips the top layer of keratin along with the polish.
Give your nails a day without any coating. You can apply cuticle oil — it will absorb and restore elasticity.
File in one direction. Sawing back and forth creates micro-cracks along the edge.
If your nails feel thin and bendy after removal, that’s a signal to take a break for at least two weeks. It’s best to avoid dark pigments entirely during this period — they penetrate the weakened nail plate and leave a yellow tint.
How to store polish so it doesn’t dry out
Dark shades that you need once a year most often dry out precisely because they sit unused. Store them in a dark place away from the radiator: temperature swings break down the formula faster than time. Keep the bottle tightly closed, and wipe the neck before closing, otherwise the cap will stick.
Thickened polish can be saved with three drops of thinner and ten minutes in warm water. Nail polish remover won’t work for this — it destroys the formula for good.
Budget: how much does this manicure cost at home
Three basic polishes will cost around 900 rubles, a top coat and base another 600, a thin brush 250. That’s about 1750 rubles the first time. After that, you’re only spending on new shades.
At a salon, the same design costs from 2500 rubles per visit, and it lasts just as long. A home kit pays for itself from the first use if you do your nails at least once a month.
What to wear with a Halloween manicure
A dark design dictates the rest of your look. Black polish and gold call for removing bright colors from your outfit — stick to graphite, cream, dark green. Then the manicure becomes the single statement detail, and it looks stylish.
If you want the opposite — to keep your outfit light — choose a design with thin lines rather than a large drawing. A peach base and a spider web on one finger with a cream sweater work better than you’d think.
Well-groomed eyebrows pair nicely with a dark manicure: your face and hands read as one cohesive look. If you haven’t updated your brow shape in a while, check out the article on proper brows after 30.
Another trick: if you have a large design on your nails, remove all other prints from your outfit. Plaid, stripes, and leopard print next to a pumpkin will turn the look into a carnival.
Everything you need for a home design: two polishes, a thin brush, a sponge
Frequently asked questions
How long does a Halloween manicure last?
With proper prep, regular polish lasts 5–7 days, gel polish up to three weeks. A matte top coat wears out about two days faster than a glossy one.
Can you do this manicure on short nails?
Yes, and short nails actually win. A large design on a short nail looks neater because there’s no empty space.
Does Halloween design work after the holiday?
Skeleton, pumpkin, and drips — no. But a gradient, matte black with gold, and a spider web live comfortably until mid-November.
How do you remove glitter without damaging the nail?
With foil and acetone, leaving it on for ten minutes. Never scrape glitter off with a file — it will create creases in the nail plate.
Do you need a primer before dark polish?
Not strictly necessary, but it reduces the risk of nail staining. Dark shades without a base can leave a yellow mark after removal.
What if you don’t have a thin brush?
A toothpick, the back end of an eyeshadow brush, or just a needle. The lines will be slightly thicker, but for a pumpkin and drips, that’s enough.
Bottom line
A Halloween manicure is one of those rare cases where the home version looks just as good as the salon one. The technique is simpler than it seems, and the entry cost pays for itself in one go. All you need are three polishes, a base, a top coat, and one thin brush.
If you do one design per evening, by October 31 you can try the whole list and pick your favorite. And then decide whether it’s worth paying a nail tech at all for something you can do in forty minutes at your kitchen table.
So — will you dare to paint the pumpkin yourself, or will you still head to the salon three days before the holiday?